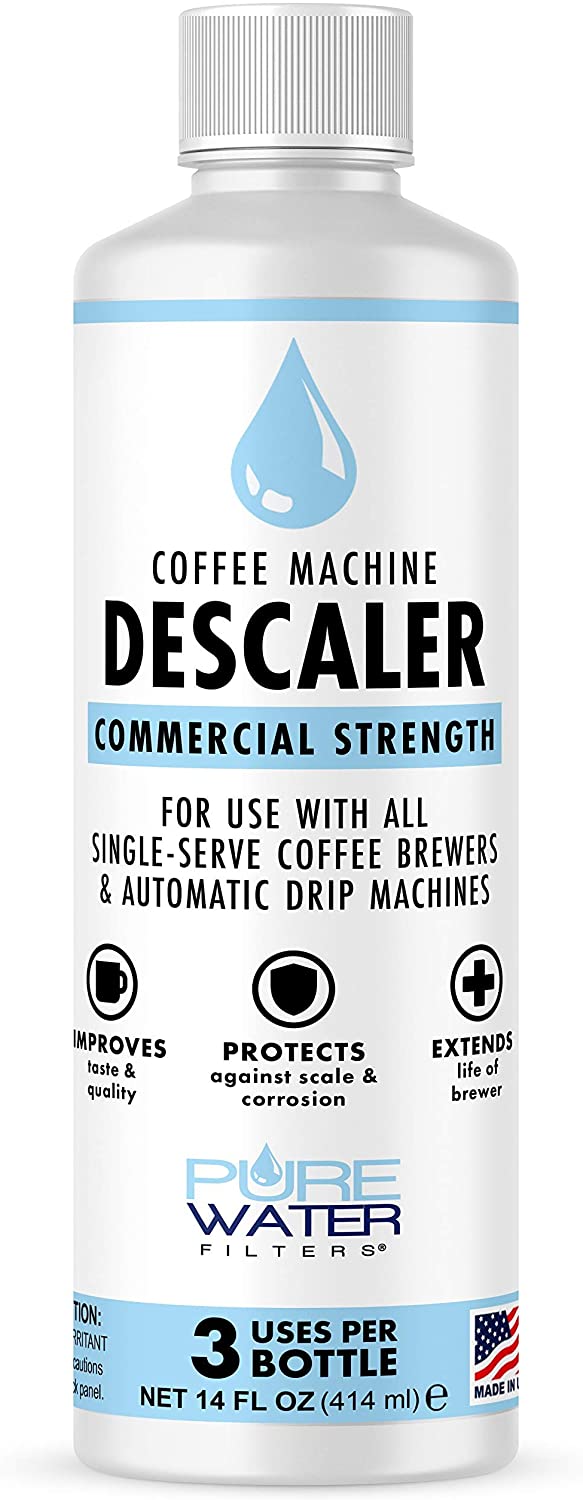
Descaling Instructions for Keurig® Commercial Brewers
K150/B150
Brewers
K150P/B150P
Brewers
K155/B155
Brewers
K2500
BrewerS
K3000/B3000
Brewers
DESCALING SOLUTION INSTRUCTIONS
Scale, or calcium deposits, build up inside your Keurig coffee brewer over time, and this is especially true if your water has a high mineral content or you use your machine often.
Eventually, this buildup of minerals will start to ruin the taste and quality of your brewed beverages. If left untreated, this buildup will hinder your coffee maker’s performance and even shorten its lifespan. This is why it’s universally recommended to descale your brewer at least every 3 to 6 months (and even more often for commercial coffee machines).
Follow the instructions below to descale your Keurig K150, B150, K155, B155, K150P, B150P, K2500, K3000, B3000, K3000SE, B3000SE, K3500, or other commercial brewer.
Follow these instructions to descale your Keurig K150, B150, K155, B155, K150P, B150P, K2500, K3000, B3000, K3000SE, B3000SE, K3500, or other commercial brewer.
STEP 1
Before you start, make sure your brewer’s reservoir is filled with water. If you have a direct water line connection, switch off the water supply connection to your brewer (to prevent it from automatically refilling during the descaling process).
STEP 2
Remove the top cover from your water tank and pour 1/3 bottle of PureWater Filters® Descaling Solution in through the top. It will mix with the water inside your reservoir to form a powerful descaling solution.
NOTE: if you have a Keurig® Plumb Kit installed (direct water line reservoir), you may need to first unscrew the two screws located on the back-top of your reservoir in order to remove the top panel and access the inside.
STEP 3
Now it’s time for the cleansing cycle. Place a large mug on your brewer’s drip tray. Select the largest brewing size that your machine offers and press brew (make sure there isn’t a coffee pod in the pod holder). Pour the hot contents of the mug into a sink when finished.
Repeat this process until the reservoir runs out of water.
STEP 4
Let your brewer sit for at least 2 hours while still turned on.
During this time, the descaling solution will perform a deep cleanse of the internal components of your brewer by removing limescale, sticky buildup, and other hard water mineral deposits deep inside your machine.
STEP 5
Finally, rinse out any remaining descaling solution from your brewer by completely filling the reservoir with fresh water. (If you have a direct water line connection, be sure to switch off the water supply connection to your brewer after you fill the reservoir with water.)
Brew the water into your mug and empty the contents into your sink until the reservoir is once again empty. Repeat one more time. If you notice any residual taste or odor, you may need to perform additional cleansing brews.
That’s it! Your gave your brewer a deep clean! Regular descaling in the future will help improve the taste of your coffee and extend your machine’s lifespan.
Let Us Help.
Our customer support team is more than happy to help walk you through the descaling process.


